How to add a client
Every agreement and invoice starts with a client. Add them once and their details fill in automatically everywhere.
About 2 minutes
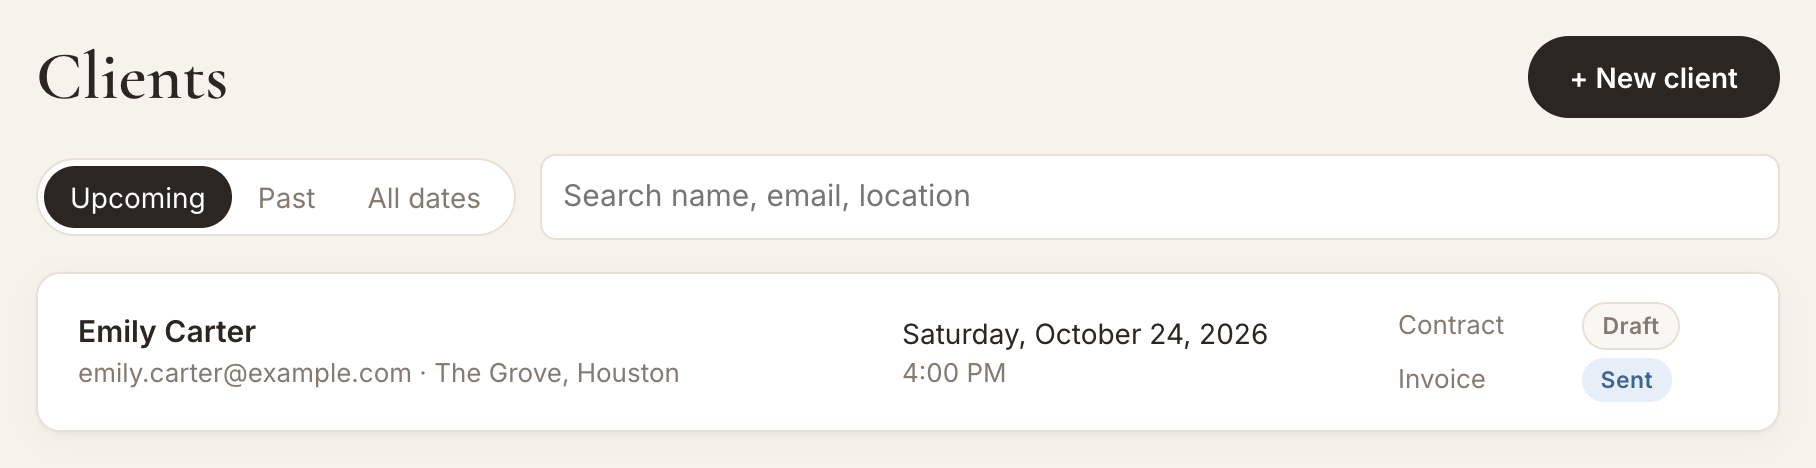
Open Clients and click "+ New client"
In the menu on the left, click Clients. Then click the dark + New client button at the top right.
Enter their details
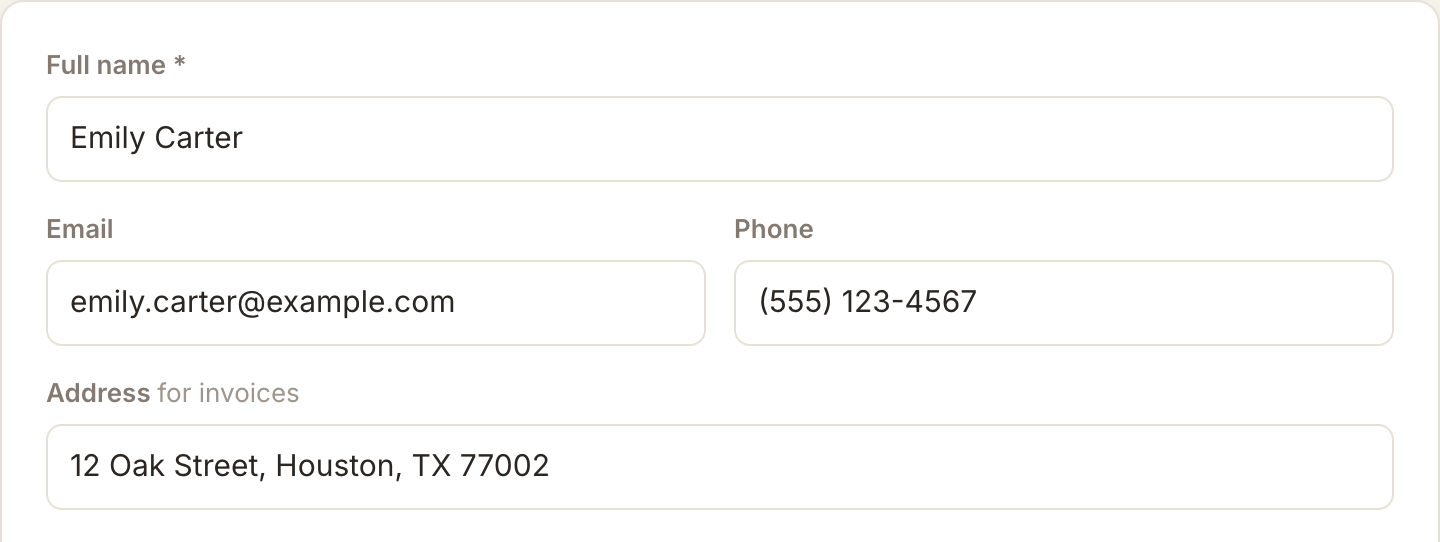
Type the client's Full name (the only required field), and their Email and Phone. Add their Address if you want it on invoices. If you run more than one business, choose which business this client belongs to.
Add the event date, time and place
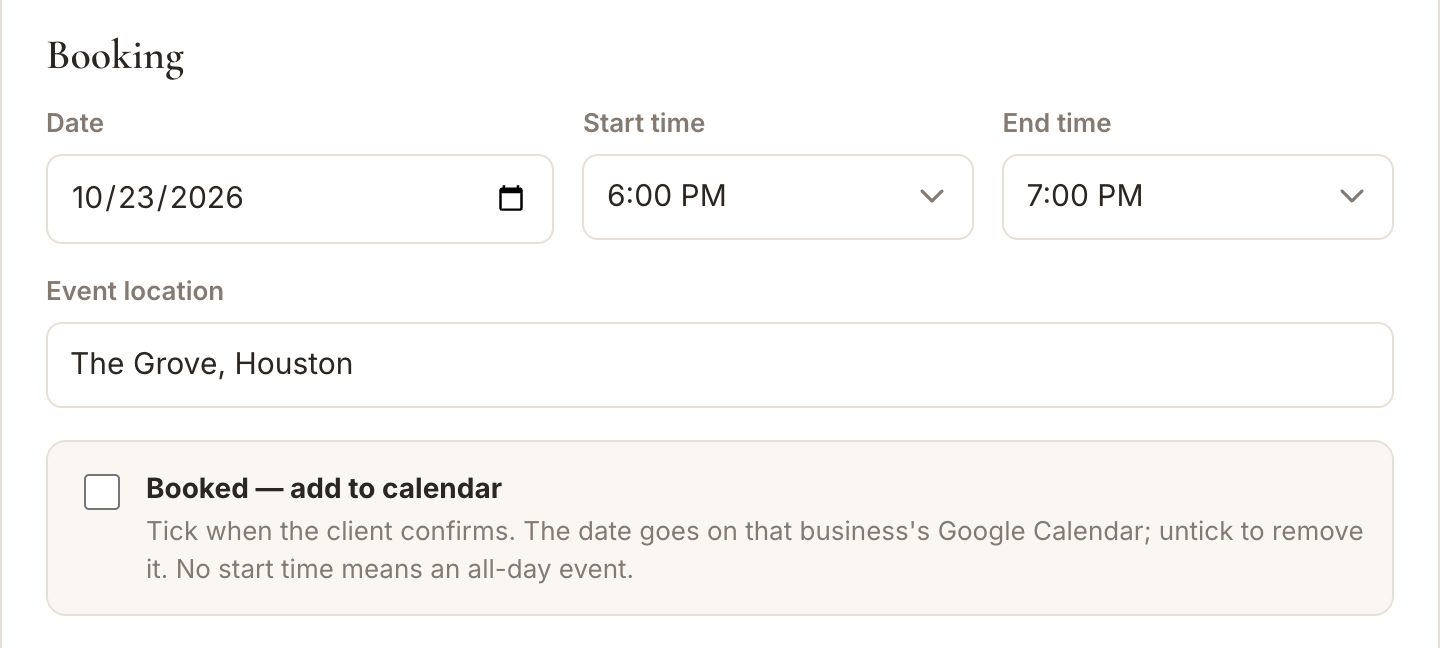
Under Booking, pick the Date, then the Start time and End time from the lists, and type the Event location. You can leave these empty and add them later. No start time means an all-day event.
Tick "Booked" when they confirm
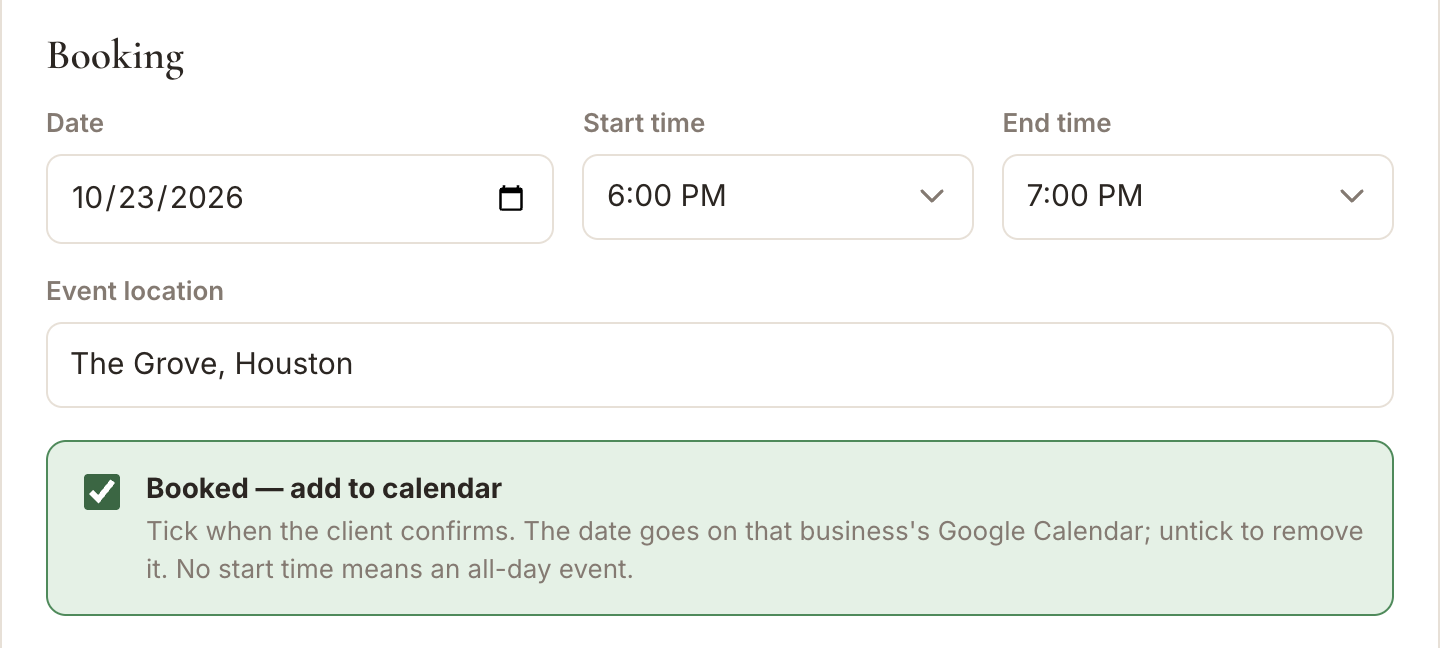
When the client has confirmed, tick Booked — add to calendar. The event is added to your Google Calendar. Untick it to remove the event again. Change the date later and the event moves with it. (Connect Google first: see "How to connect your Gmail and Google Calendar".)
Click "Create client"
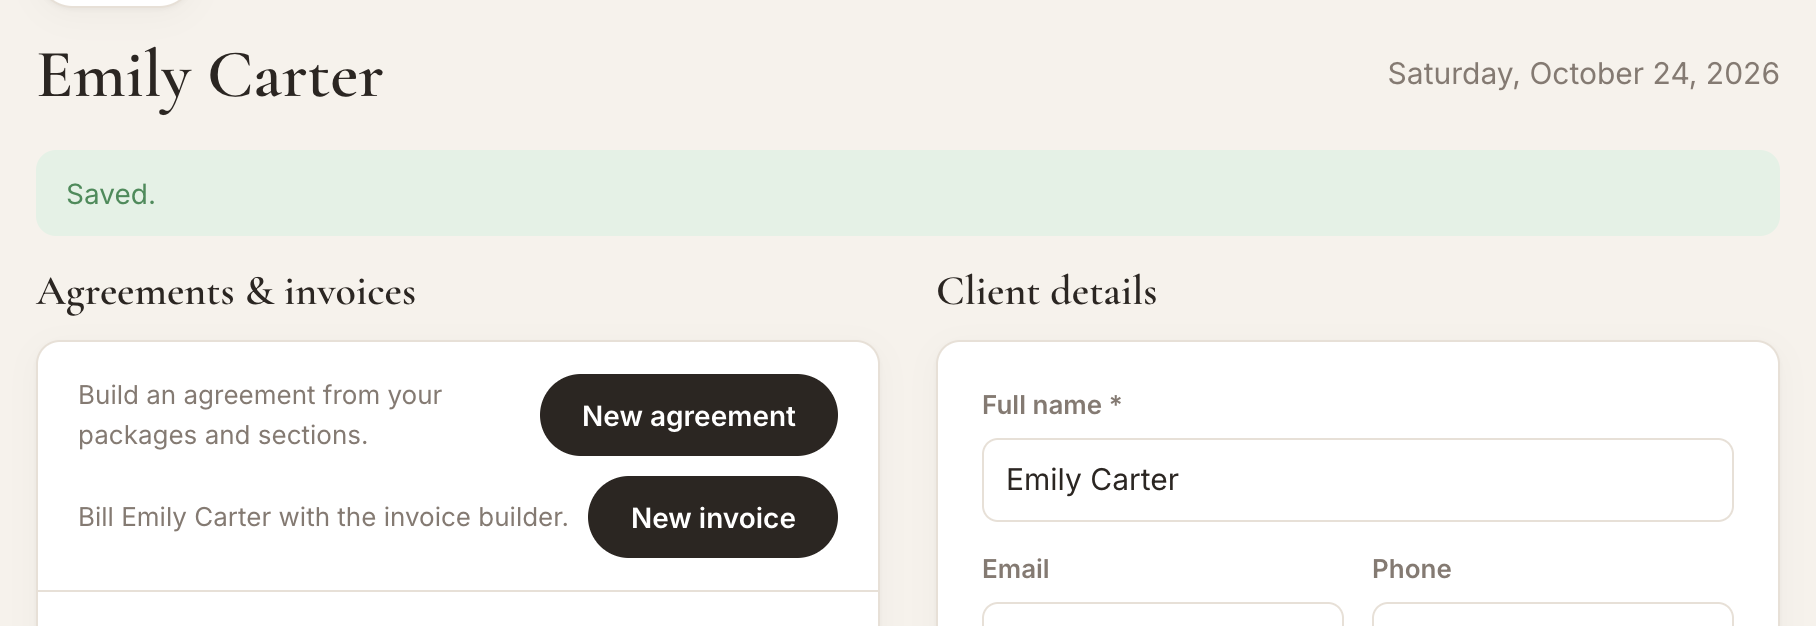
Your client is saved. From their page you can create an agreement or an invoice, and see everything you've sent them.
Good to know
- Add a client without a date and set it later, once they've decided.
- You can edit a client any time from their page.
More guides
Manage your clients & schedule in one place
Agreements clients sign online, invoices, payment schedules and your Google Calendar, all in GoPlanEvent.