How to create and send an invoice
Invoices use your business name, logo, phone and "how to pay" details automatically. You only add the lines and the due date.
About 3 minutes
Start an invoice
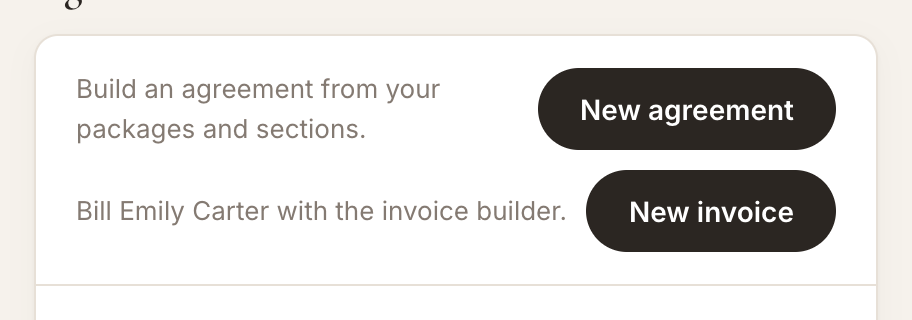
Open the client and click New invoice. If the client has an agreement with a payment schedule, you can also click Create invoice next to a payment, and the amount and due date fill in for you.
Add the line items
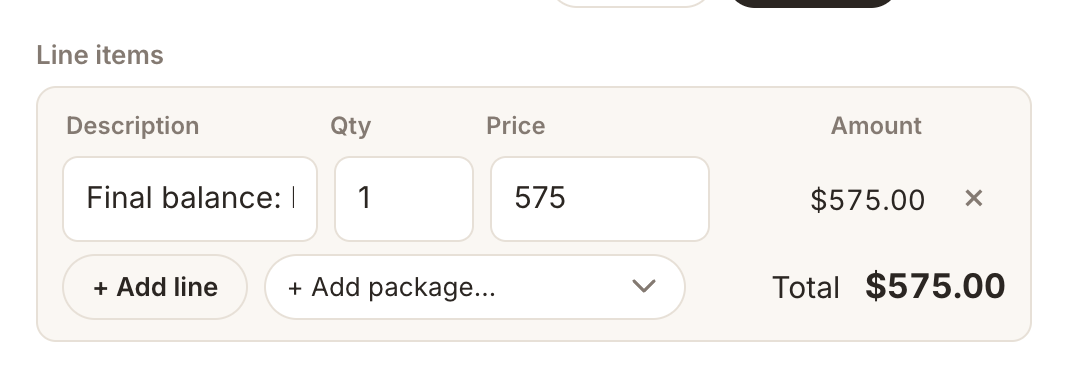
Under Line items, type a Description, Qty and Price for each line. Add more lines with + Add line. The total is worked out for you.
Set the due date and how to pay
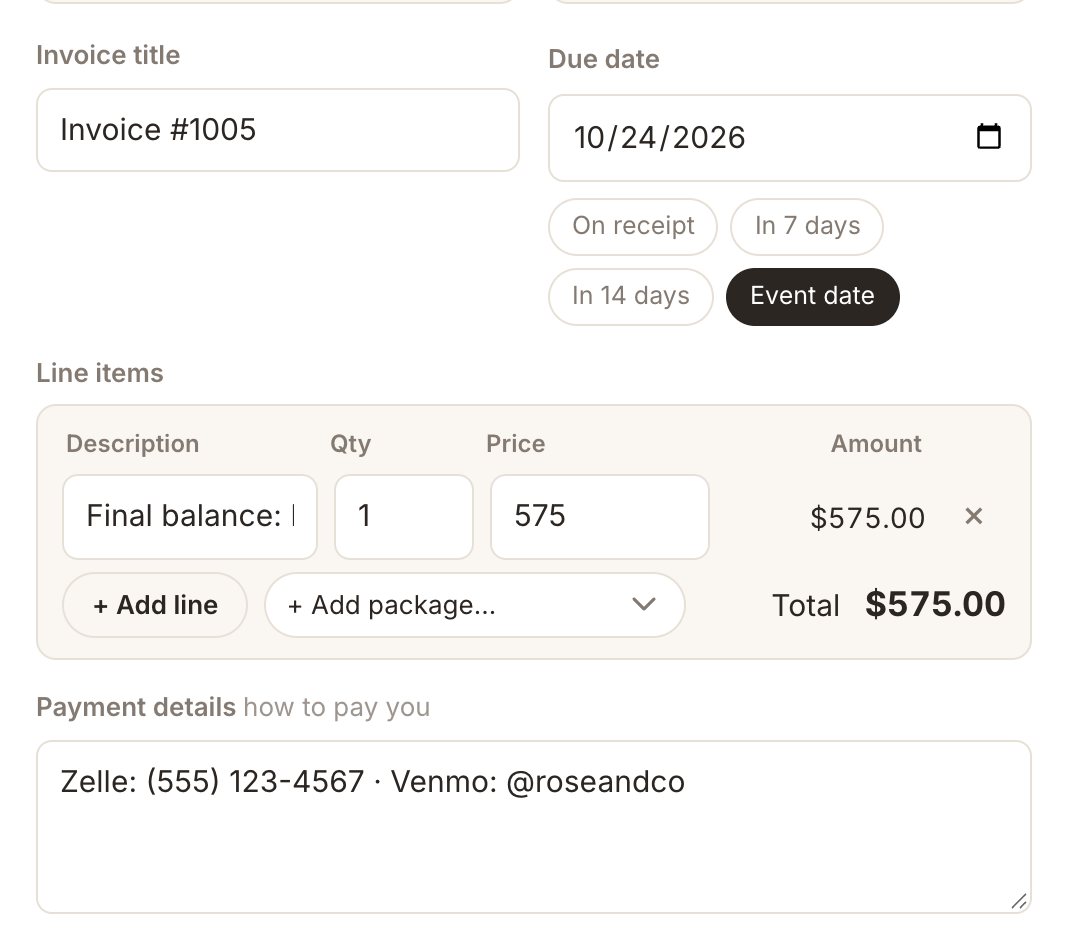
Choose the Due date. The How to pay box is filled from your Settings (for example your Zelle or Venmo). You can change it for this invoice.
Send it
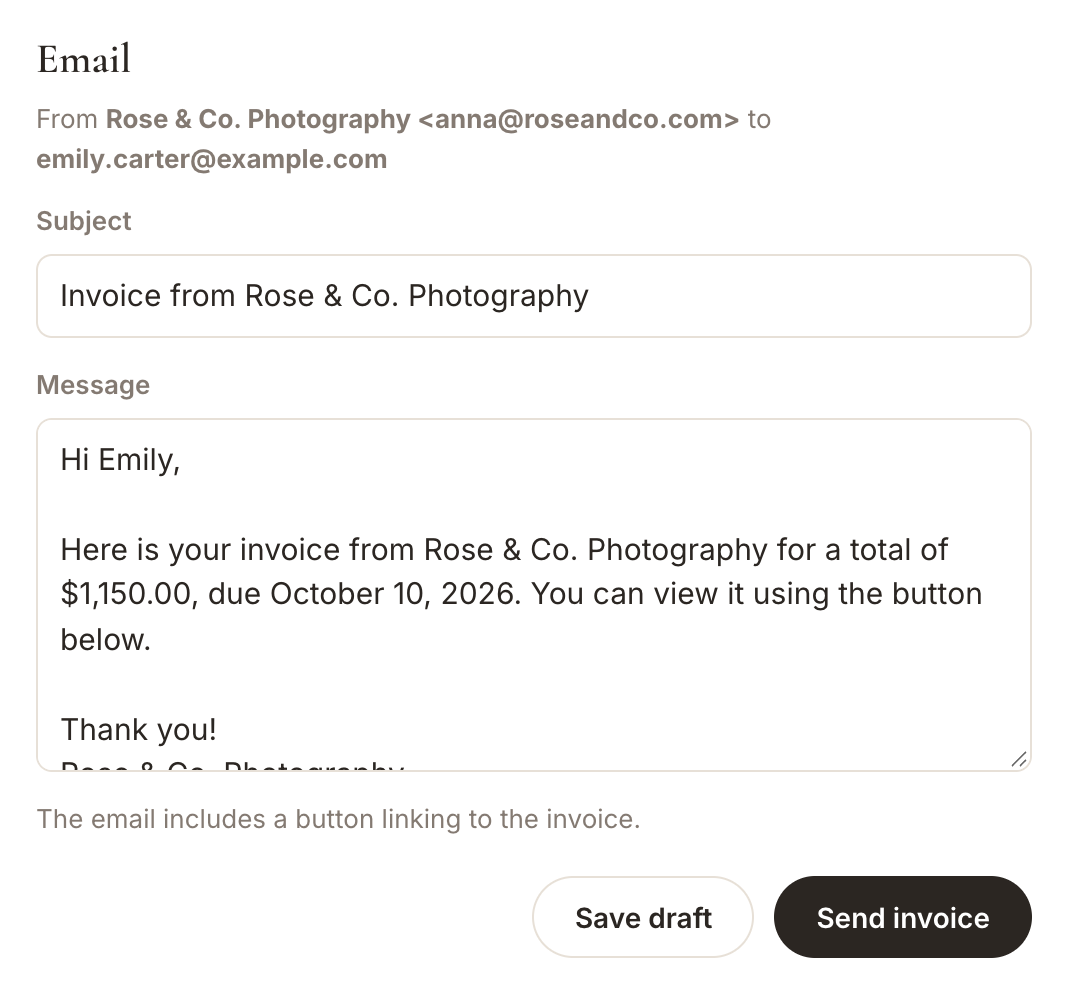
Check the email Subject and Message, then click Send invoice. It goes from your Gmail with a View invoice button. Prefer to text it? Click Mark as sent and copy the client link.
Mark it as paid
When the money arrives, open the invoice and click Mark as paid. Paid invoices show a green badge and drop off your to-do list.
Good to know
- Invoice numbers count up automatically, starting at #1001.
- Download any invoice as a PDF with Download PDF.
- Add your logo and payment details once in Settings → Company settings.
More guides
Manage your clients & schedule in one place
Agreements clients sign online, invoices, payment schedules and your Google Calendar, all in GoPlanEvent.